MSU Qualtrics: Getting Started
Creating a Qualtrics Survey
NOTE: Do not collect data you don’t need. For example, if you don’t need a responder’s name, don’t ask for it. Know what is considered confidential data and how to best handle it by reviewing the MSU Institutional Data Policy and the Securing Data web page. Data security is everyone’s responsibility.
Create a Project
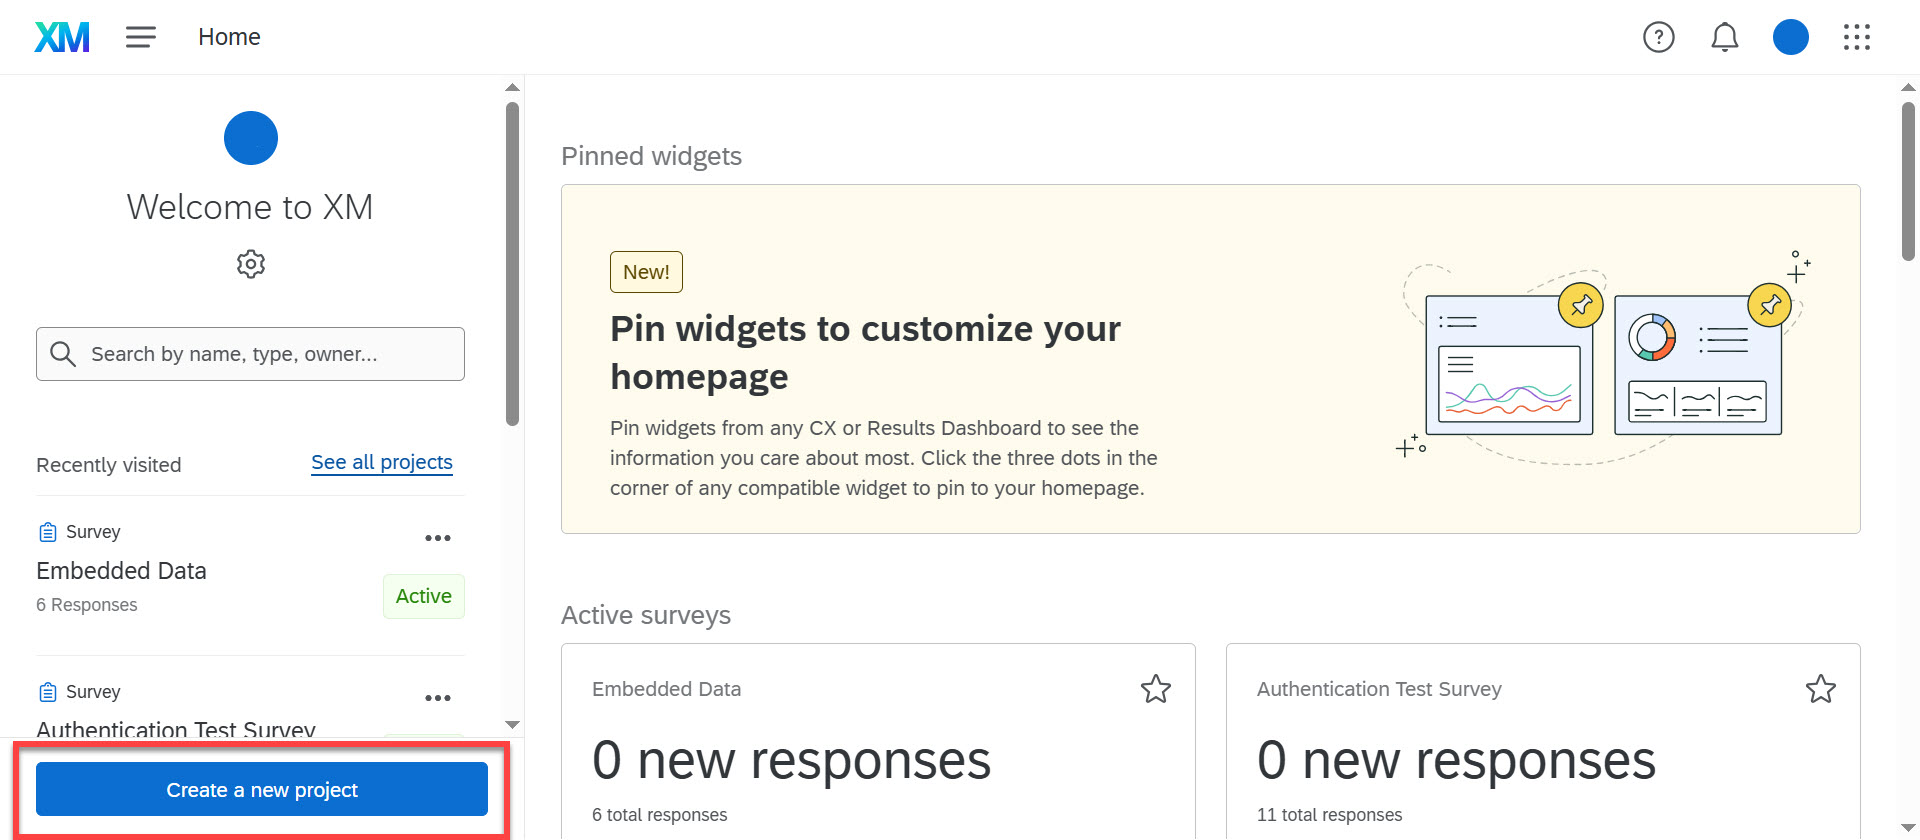
After logging into qualtrics.msu.edu with your MSU NetID and password, you will be taken to your Home page.
Click the button that says “Create a new project”.
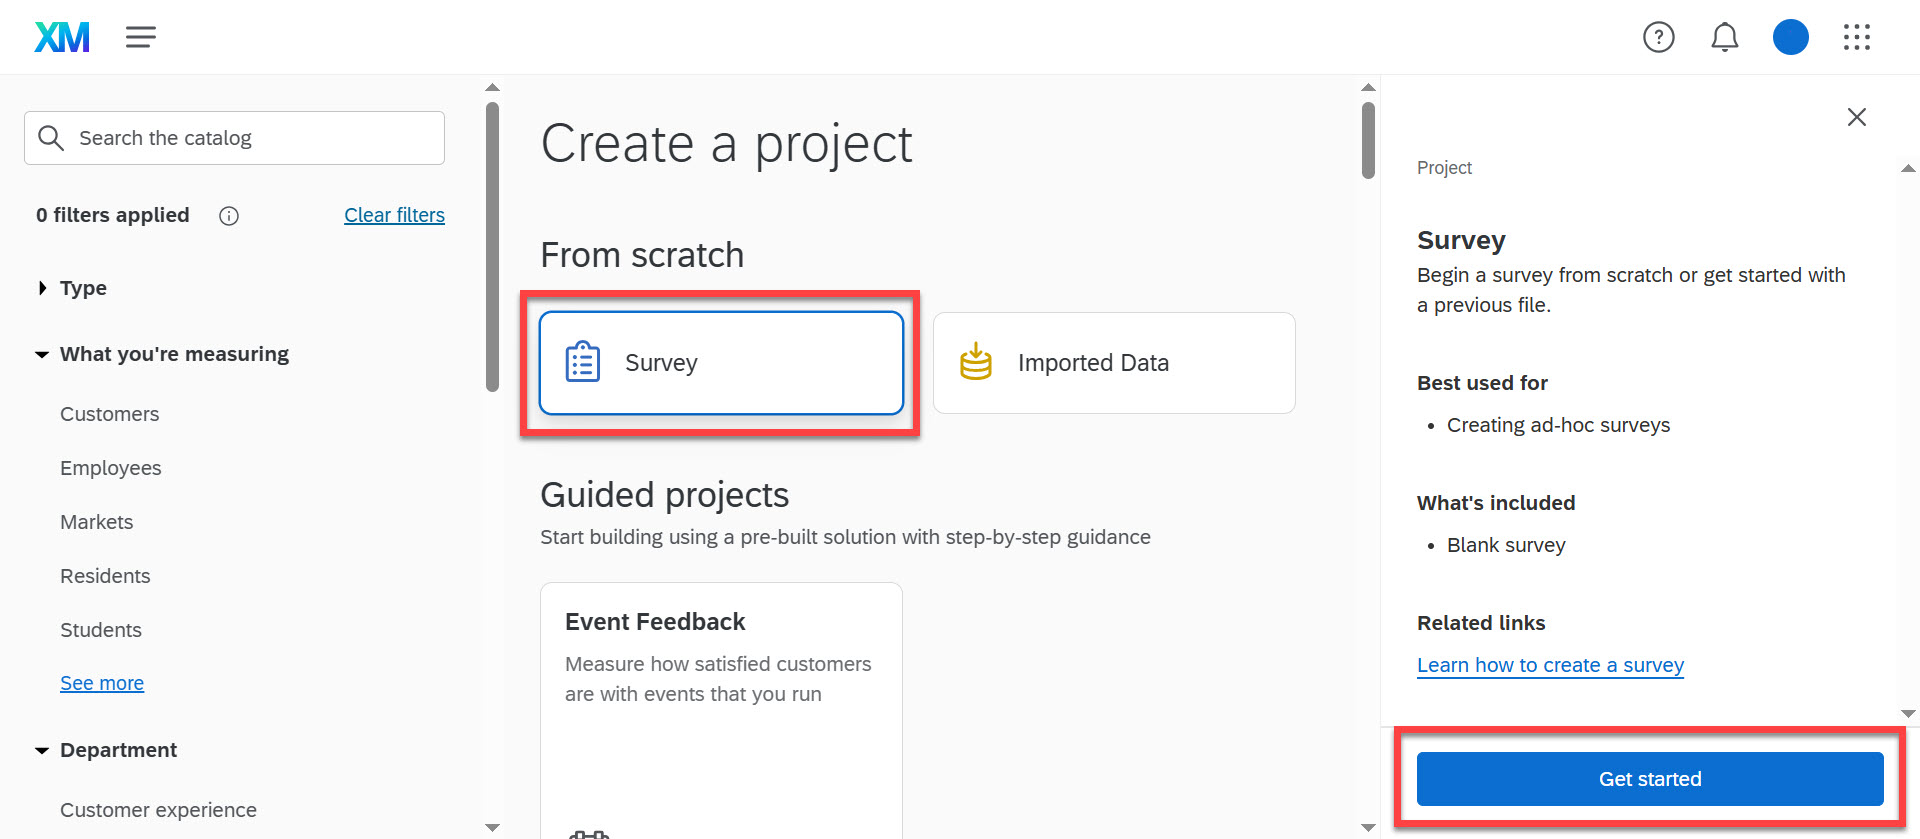
Select Survey, then click the "Get started" button.
Next, type in your project name and a folder name if you want to file your survey project in a certain way.
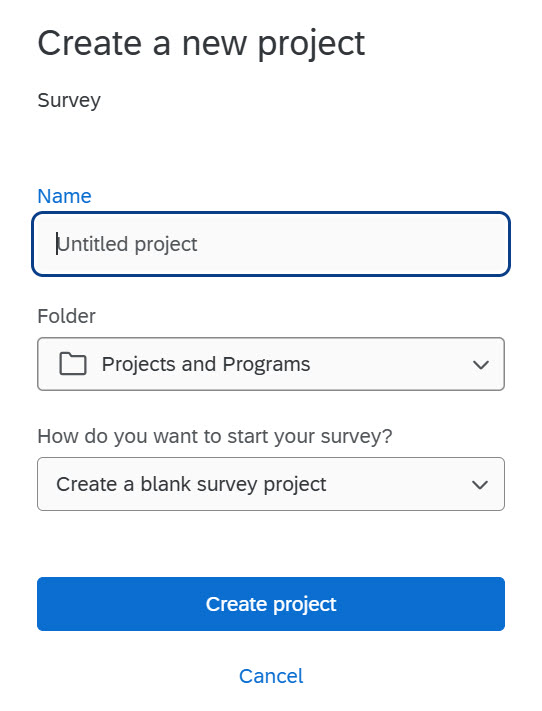
Then click the “Create project” button.
Qualtrics creates your survey project using a multiple choice default question type, though you can customize the default or upload your own questions.
Branding a Survey
The default branding in MSU Qualtrics is the Michigan State University template.
Add your department or unit name to any survey by clicking on “Look & Feel” at the top menu under the “Survey” tab.

Then click on General and add header text. This will show below the Michigan State University heading and above the survey content on each page of the survey.
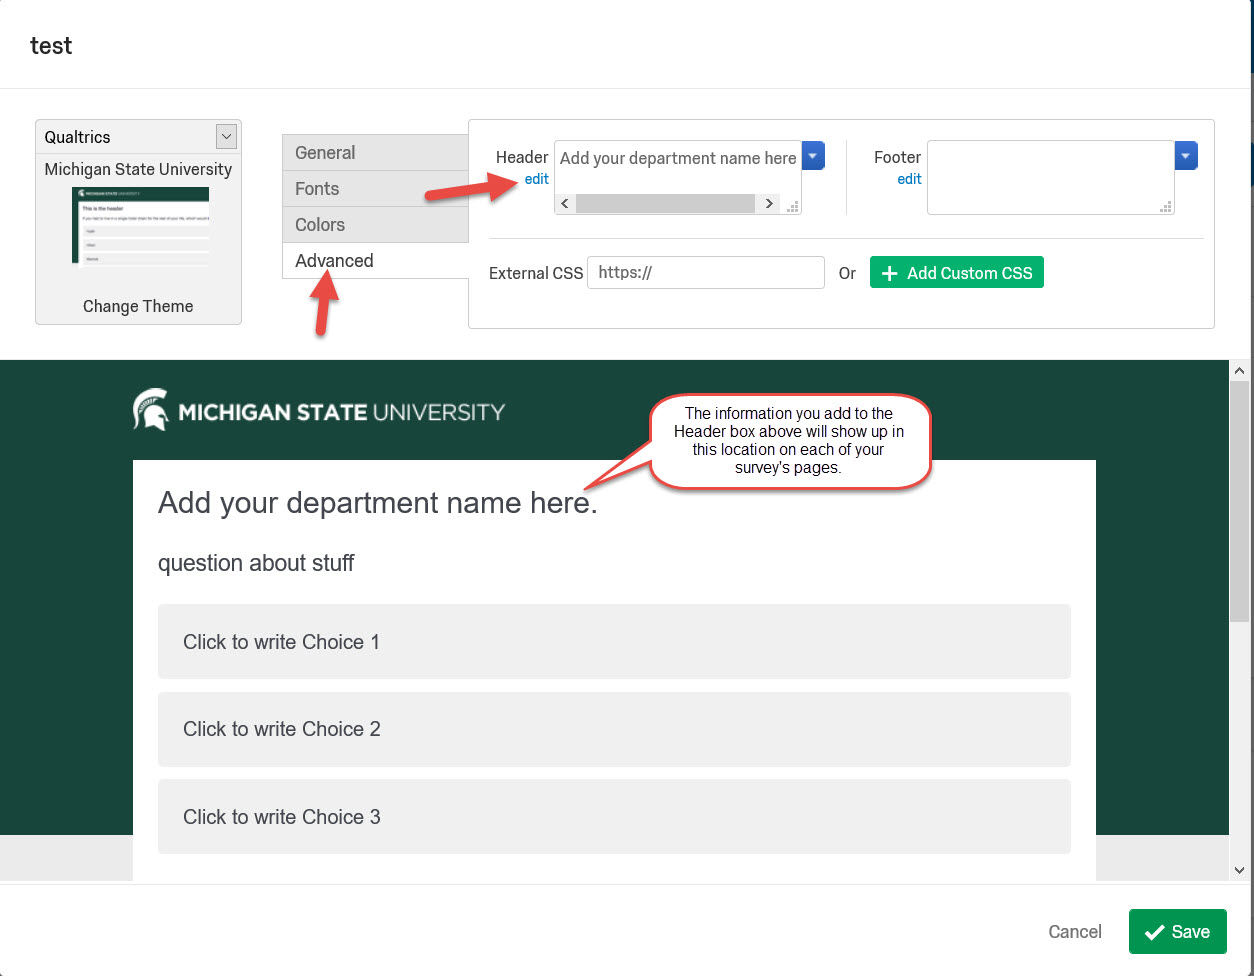
Using the header text defaults are recommended.
It is also recommended you add some introduction text before the survey questions. This text could provide an overview of the survey, the purpose, whether the survey is anonymous or not, the date when the survey will be closed, and an approximate time the survey will take to complete.
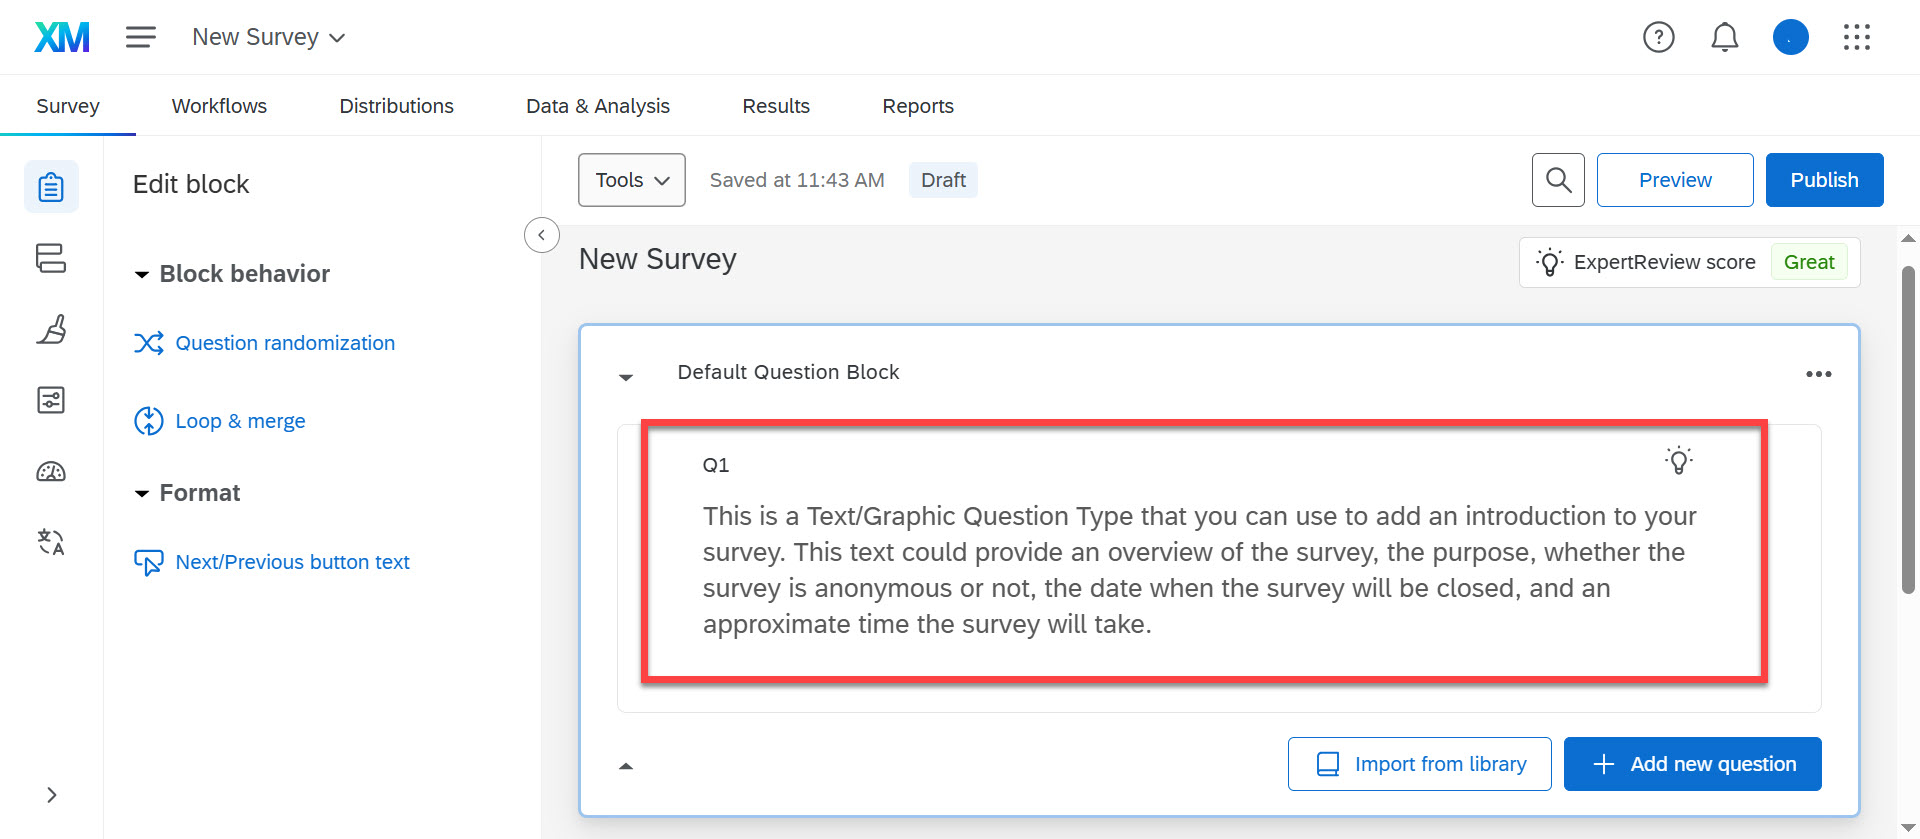
Edit Questions
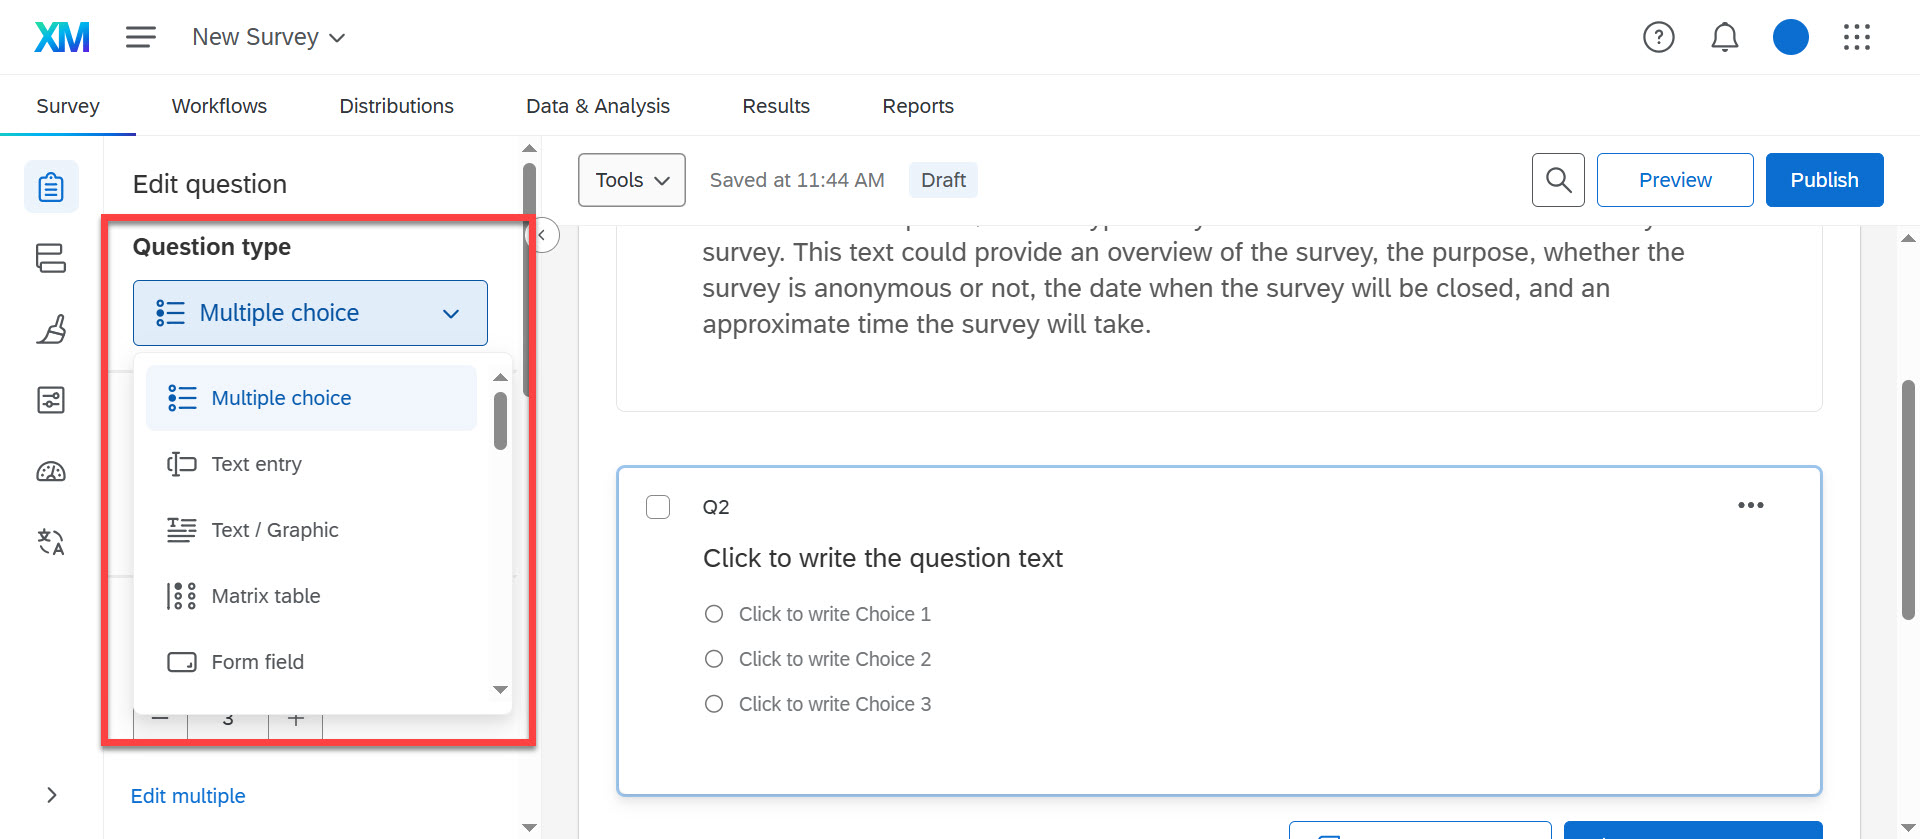
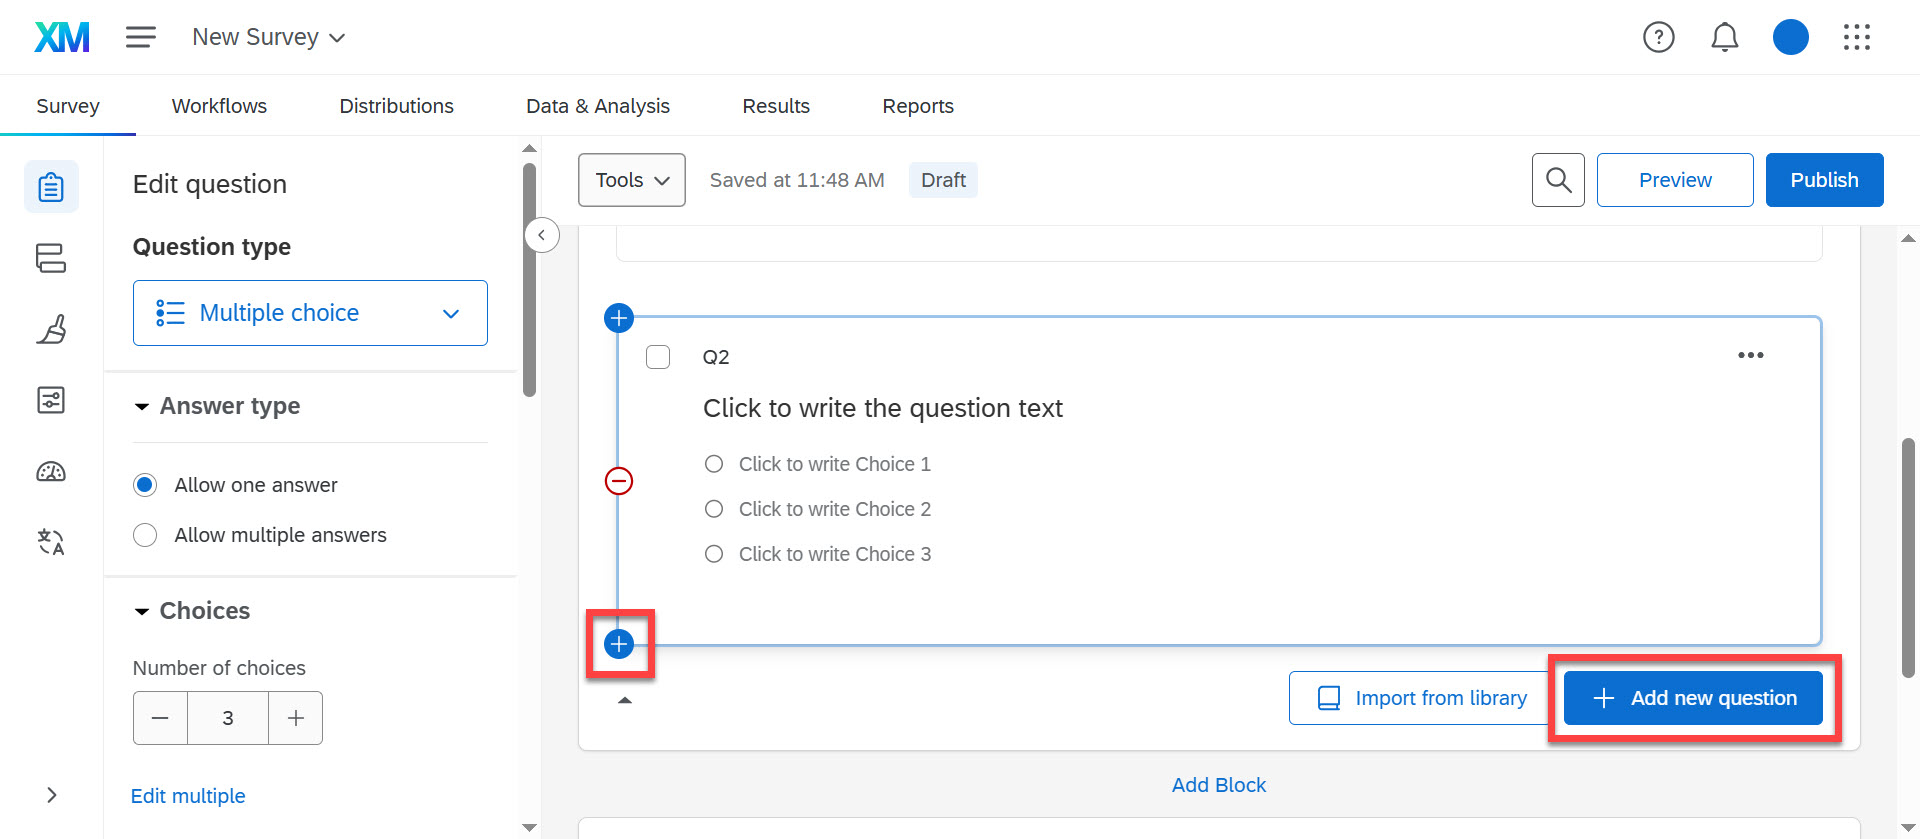
If you want to use a different types of questions other than multiple choice, click the Multiple Choice drop-down on the left. This will show the full Question Type menu.
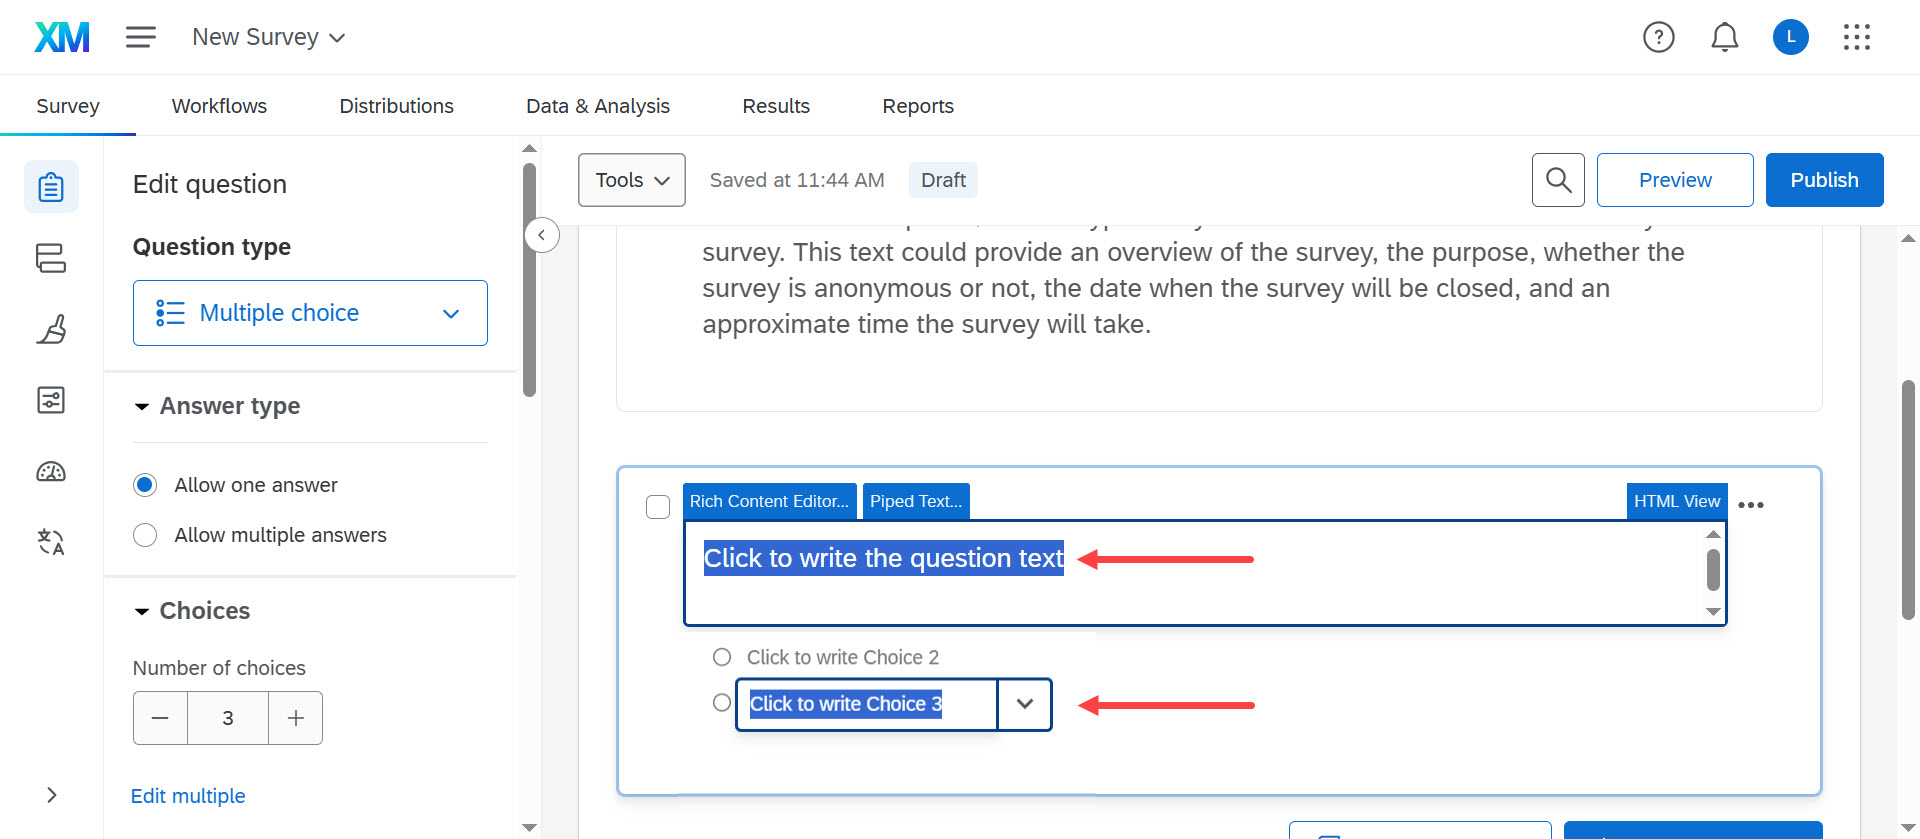
To change the text on your question, click on the default text. An edit field will open for you to select the text, delete the default text, and insert your own text. The down arrow next to the edit field allows you to use more advanced features as needed.
Add as many questions as you need to by clicking the “+ Add new question” button or the plus sign on an already created question. The system will add a new Multiple Choice default question for you to customize.
Preview a Survey
After you have added all your questions, click the “Preview” button at the top of your survey. A new window will open up, showing what your survey will look like in a desktop web browser and mobile browser format to survey takers.

You can test your survey by responding to the questions in the preview. If you click the button with the arrow at the bottom of a page, it will take you to the next page in your survey, or to the end of the survey depending on how many questions you have.
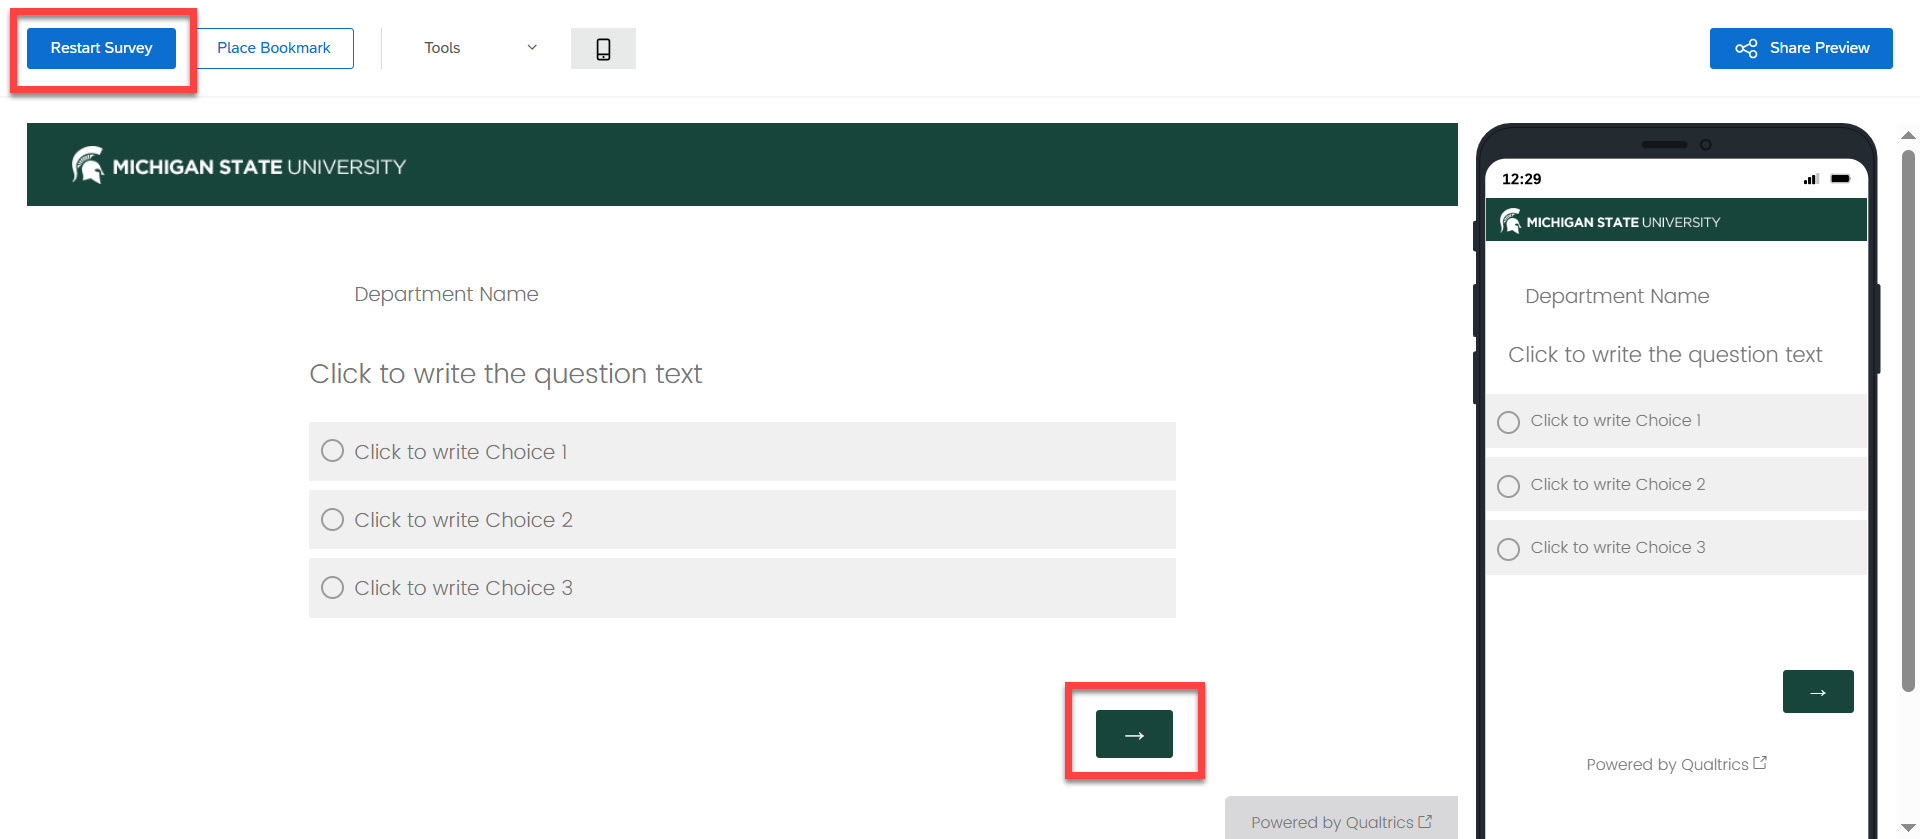
If you want to test out different question options, you can click the green “Restart Survey” button at the top and it will refresh the page for you. You may close the preview tab when you are finished.
NOTE: If you preview your survey and submit it, the data you entered during the preview test will be part of your data set at the end, so you’ll want to go in and clean out the test data.
Send a Survey
After you are happy with how your survey looks, you will need to send your survey. It is strongly recommended that you allow some trusted reviewers to also preview the survey for you. You can do this by sharing with them an anonymous link (see below for instructions).
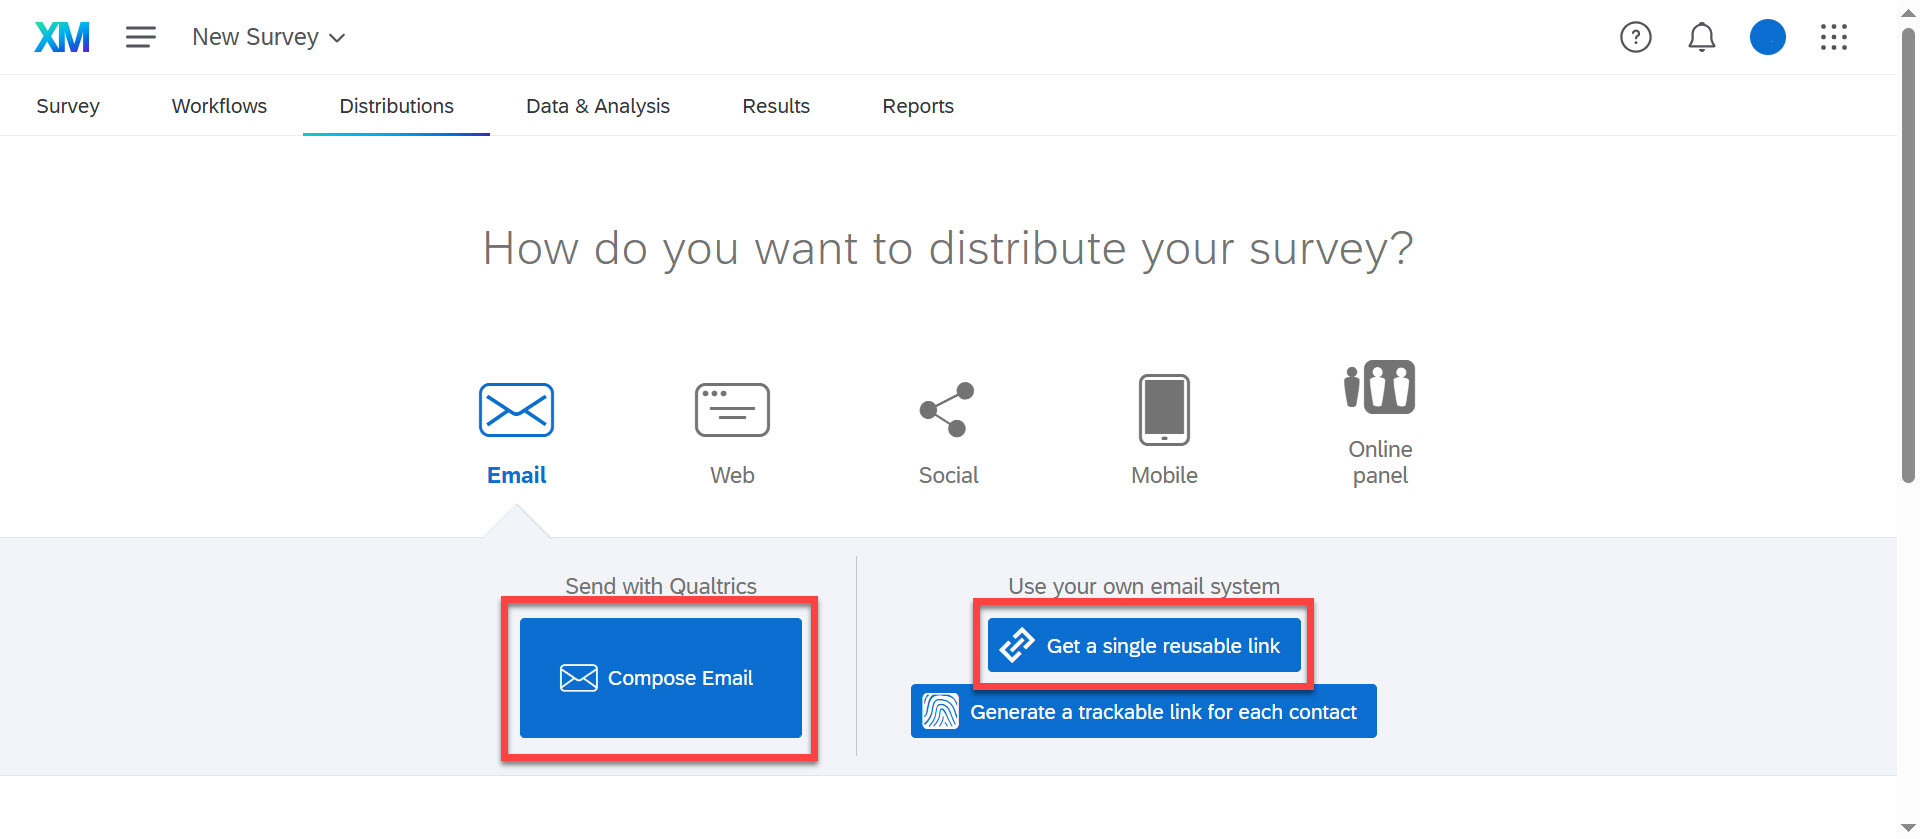
To use the mailing option within the Qualtrics platform, click the green “Compose Email” button. This option allows you to create a new contact list or type in individual email addresses.
To send an anonymous link that can be used by repeatedly and isn’t tied to an individual, click the green “Get a single reusable link” button. Qualtrics creates a link that you can paste into an email or post in any messaging or sharing platform outside of the Qualtrics platform.
View Survey Data and Reports
Once your survey is distributed, it will begin to collect data as people respond to it. You can click on the “Data & Analysis” tab at the top to view the responses you’ve received.
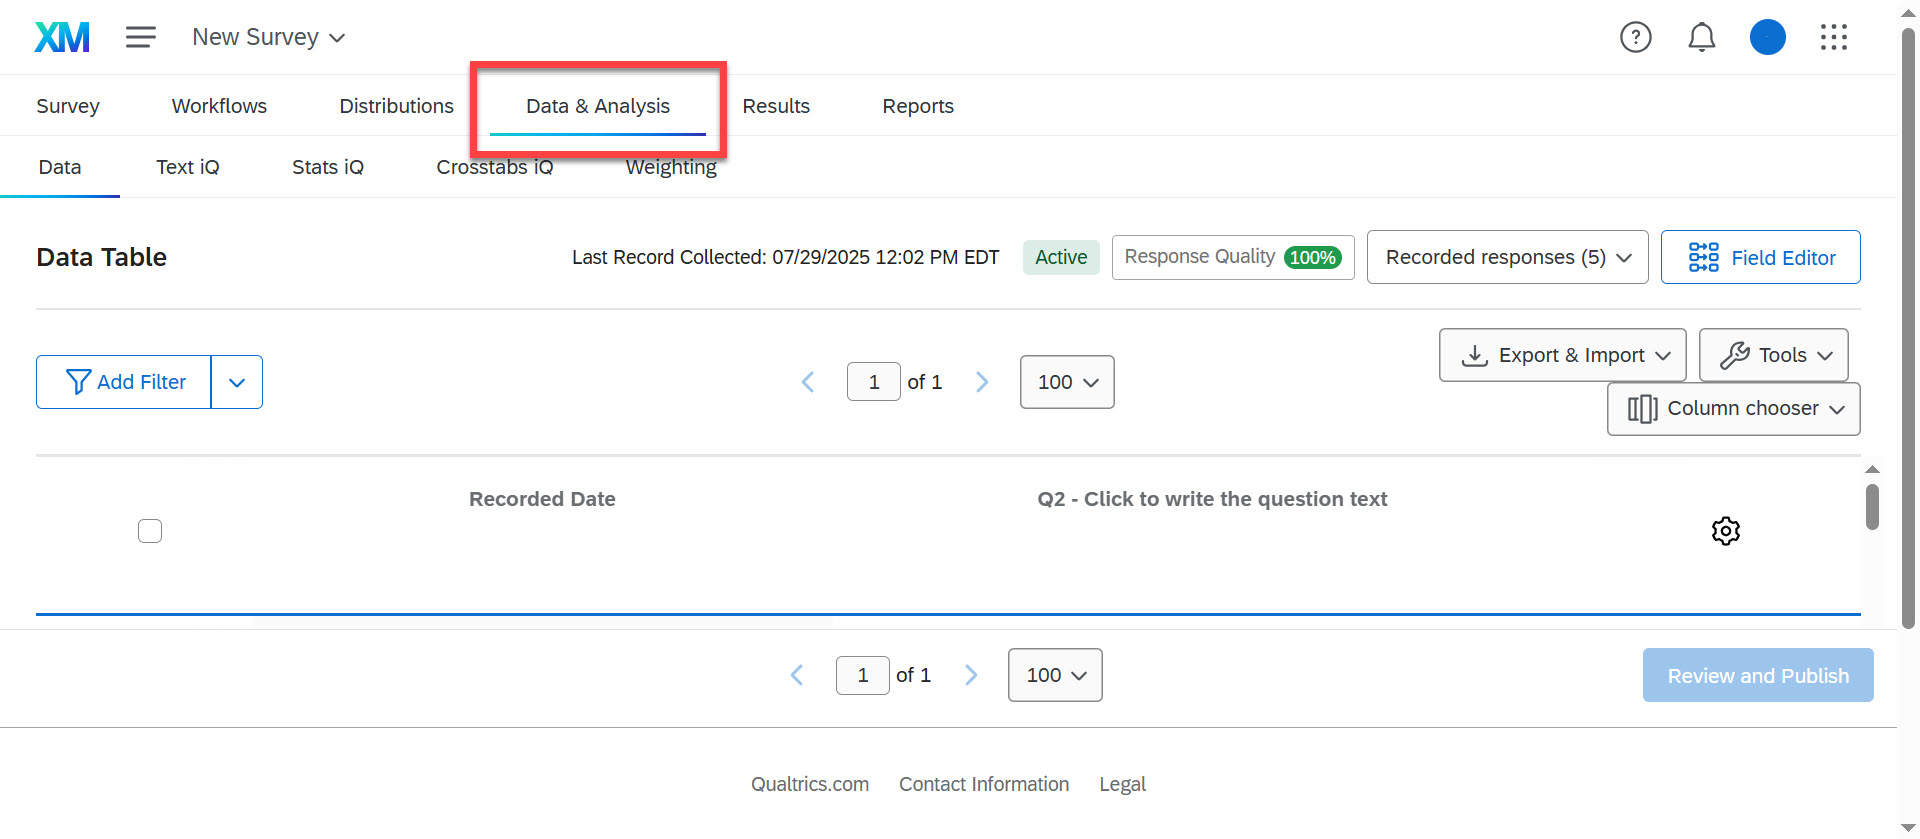
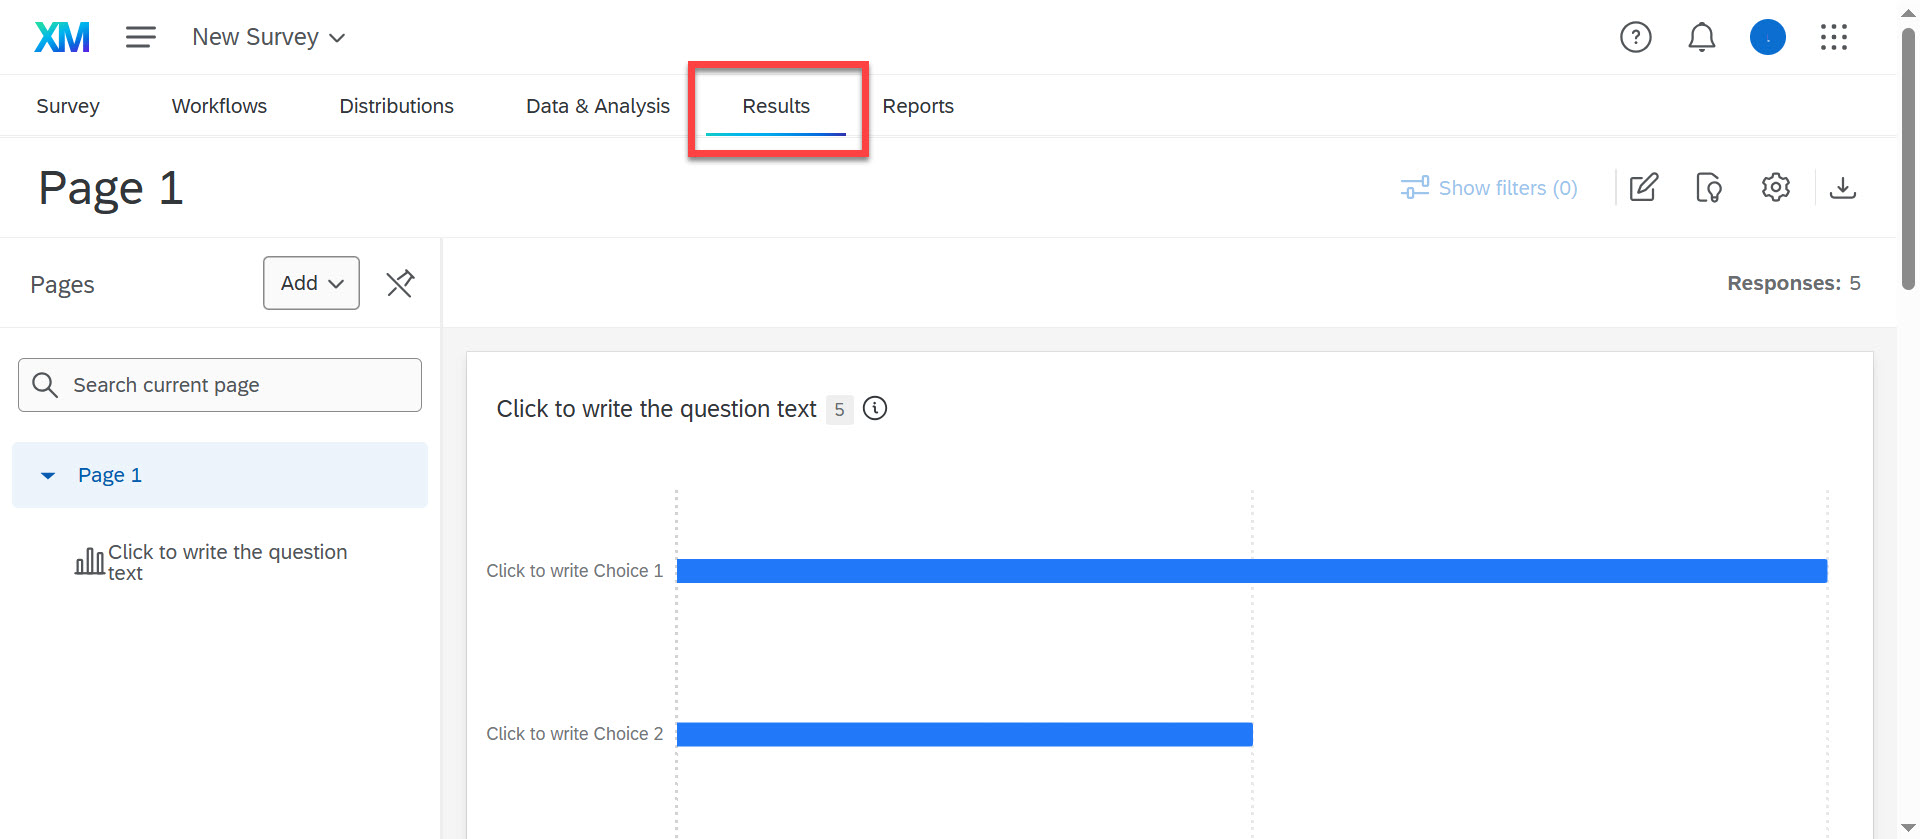
In order to see graphical reports based on your data, click on the “Results” tab. Different visualization options can be selected to change the type of graph you see.
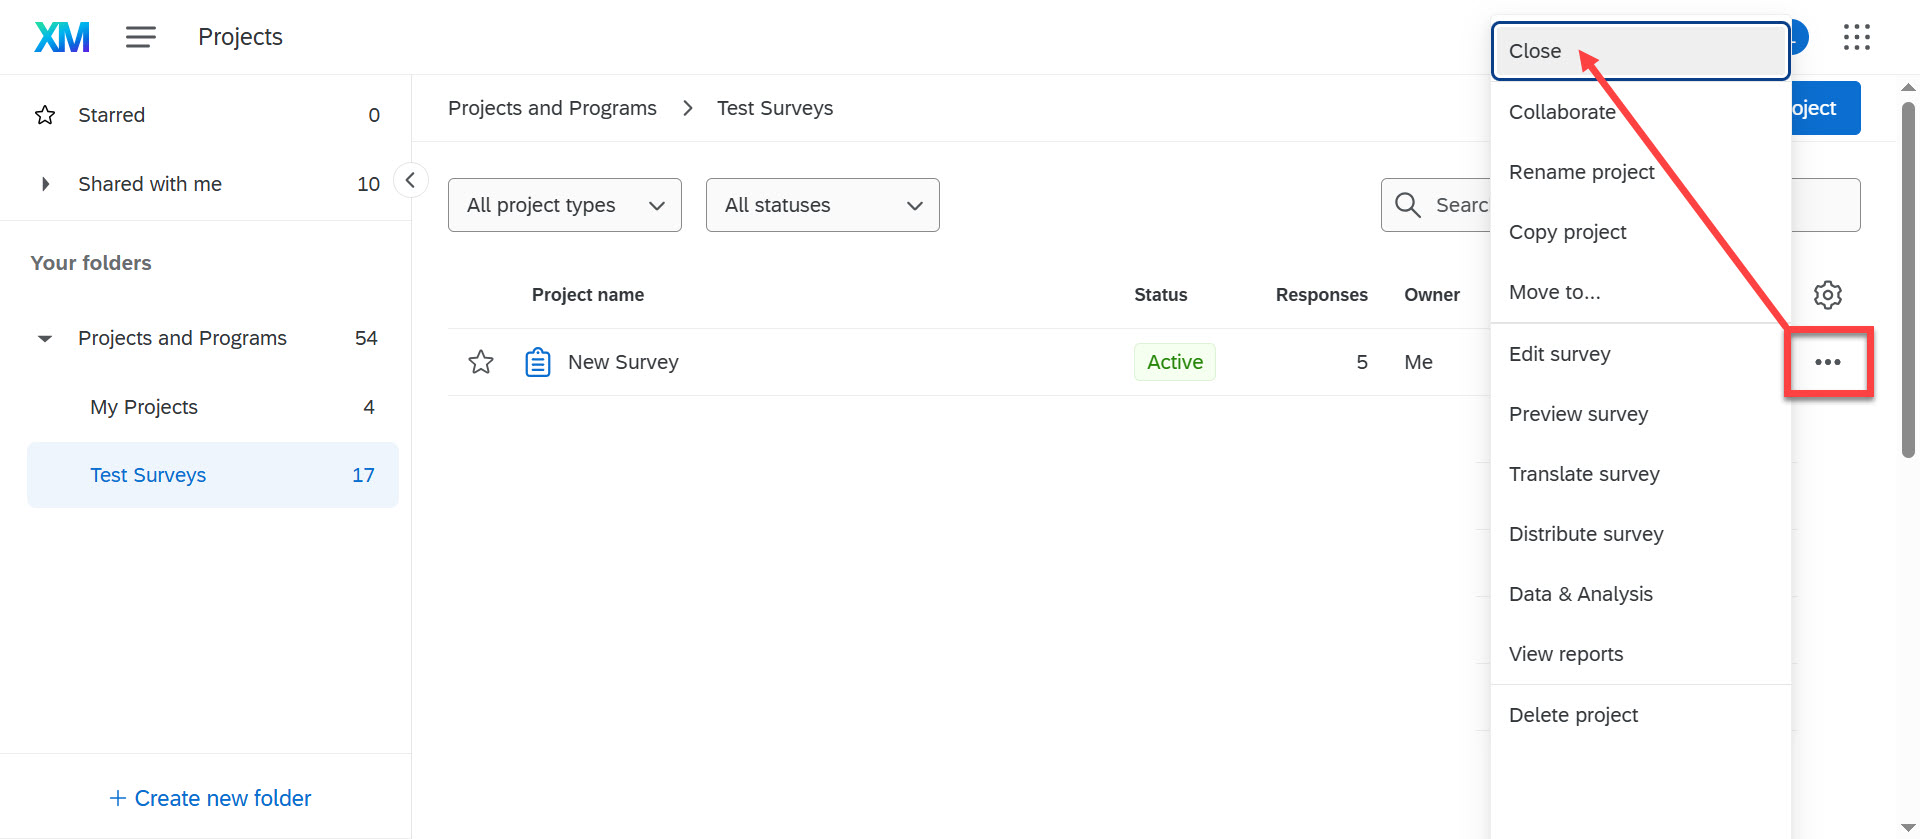
After you have collected as many responses as you need, you should close your survey. This will deactivate the survey link and not allow any more survey responses to come in.
On your main “Projects” page, click the ellipses (...) to the right of the survey, then select Close.